
Do you want to organize media uploads by the user in WordPress?
If you run a multi-author website, then you may want to restrict each author’s media library access to only their own uploads. This can prevent an author from accidentally deleting another user’s images, and help keep subscriber-only content private.
In this article, we’ll show you how to Easily organize media uploads by users in WordPress.
Why Restrict Author Access to Media Uploads?
If you have a multi-author WordPress blog, then people might be uploading lots of different images. This can make it difficult for an author to find the right image, or they might delete or edit another person’s media file by accident.
This can cause all sorts of problems including poor productivity, lots of extra work for site admins and editors, and a complicated editorial workflow.
This unlimited access can also be a privacy concern. For example, if you’re working on a new product or idea, then other authors might see confidential images in the media library before you make a public announcement.
If you have a WordPress membership site, then contributors and subscribers may be able to access premium media files they shouldn’t have access to. For example, if you sell online courses then a contributor might use their media library access to download premium PDFs and other course materials, without buying a subscription.
That being said, let’s take a look at how to restrict who can see media uploads inside your WordPress admin area. Simply use the quick links below to jump straight to the method you want to use.
Organize media uploads by users in WordPress
Method 1. Organizing Media Uploads by Users With a Plugin (Quick and Easy)
The easiest way to restrict access to media uploads is by using the Frontier Restrict Access plugin.
This free plugin checks whether a user has edit_others_posts permission, which allows them to edit another user’s posts.
By default, this ability is granted to everyone who has the site admin or editor role. If you want to change this, then you can add or remove capabilities to user roles in WordPress.
If the user doesn’t have this permission, then once this plugin is activated, they won’t be able to access another user’s files in the WordPress media library. This allows you to organize media uploads by users, without restricting access for admins and editors.
This plugin works out of the box and there are no settings for you to configure, so you can simply install and activate the Frontier Restrict Access plugin. For more details, see our guide on how to install a WordPress plugin.
Organize media uploads by users in WordPress
Method 2. Organizing Media Uploads Using Code (Advanced)
Another option is to restrict access to files in the media library using code. This method requires you to add a code snippet to your WordPress blog or website, so it isn’t the most beginner-friendly method. However, you won’t need to install a separate plugin just to organize your media uploads.
Often, you’ll find guides with instructions to add custom code to your WordPress theme. However, this isn’t recommended as mistakes and typos in your code can cause common WordPress errors, or even break your site completely.
That’s why we recommend WPCode.
WPCode is the best code snippets plugin used by over 1 million WordPress websites. It makes it easy to add custom code in WordPress without having to edit the functions.php file.
For this method, we’ll be adding code that checks whether the user has edit_others_posts permission. If they don’t have this permission, then the code snippet below will stop them from accessing other people’s files in the WordPress media library.
The first thing you need to do is install and activate the free WPCode plugin. For more details, see our step-by-step guide on how to install a WordPress plugin.
Upon activation, head over to Code Snippets » Add Snippet.
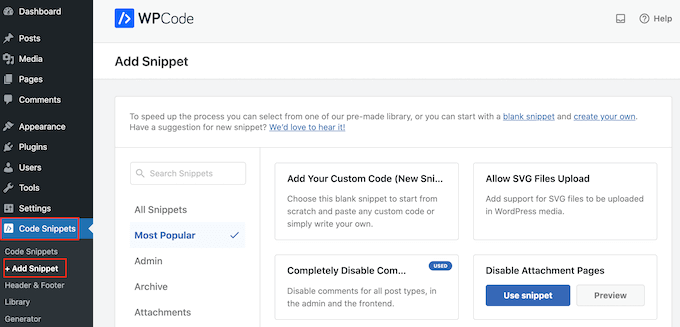
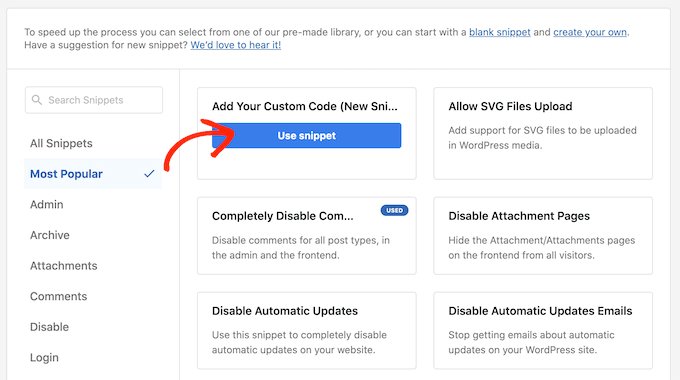
Here, simply hover your mouse over ‘Add Your Custom Code.’
When it appears, click on ‘Use snippet.’
To start, type in a title for the custom code snippet. This can be anything that helps you identify the snippet in the WordPress dashboard.
After that, open the ‘Code Type’ dropdown and select ‘PHP Snippet.’
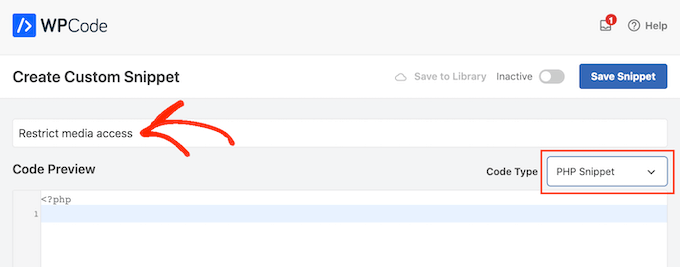
In the ‘Code Preview’ area, paste the following code snippet:
|
1
2
3
4
5
6
7
8
9
10
|
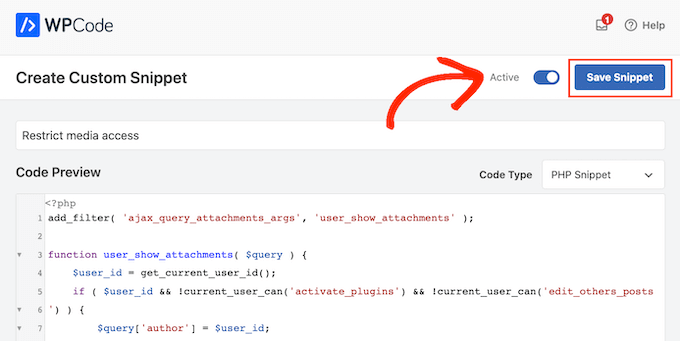
add_filter( 'ajax_query_attachments_args', 'user_show_attachments' ); function user_show_attachments( $query ) { $user_id = get_current_user_id(); if ( $user_id && !current_user_can('activate_plugins') && !current_user_can('edit_others_posts') ) { $query['author'] = $user_id; } return $query;} |
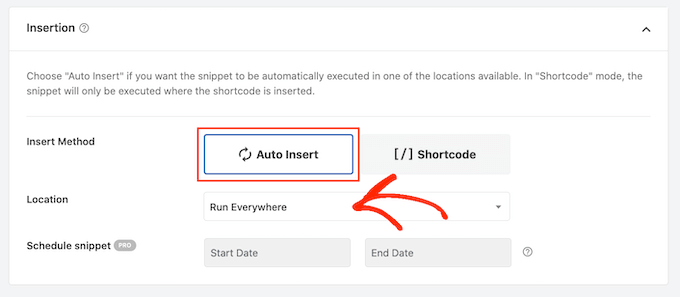
Next, just scroll to the ‘Insertion’ section. WPCode can add your code to different locations, such as after every post, frontend only, or admin only.
We want to use the custom PHP code across our entire WordPress website, so click on ‘Auto Insert’ if it isn’t already selected. Then, open the ‘Location’ dropdown menu and choose ‘Run Everywhere.’
After that, you’re ready to scroll to the top of the screen and click on the ‘Inactive’ toggle, so it changes to ‘Active.’
Finally, click on ‘Save Snippet’ to make the PHP snippet live.
Now, users will only have access to the files they upload to the WordPress media library.
We hope this article helped you better organize media uploads by users on your WordPress site. Next, you can check out our ultimate WordPress security guide or see our expert pick of the best contact form plugins for WordPress.
If you liked this article, then please subscribe to our YouTube Channel for WordPress video tutorials. You can also find us on Instagram and Facebook.