
Do you want to auto-apply coupons in WooCommerce using coupon URLs?
Usually, shoppers need to type out a coupon code in order to use it, which takes time and effort. Coupon URLs make it easier for customers to complete their purchases by auto-applying the coupon.
This article will show you how to auto-apply coupons in WooCommerce using coupon URLs.
How to Auto-Apply Coupons in WooCommerce Using Coupon URLs
Why Use Coupon URLs in WooCommerce?
Coupon links are a great way to increase sales on your online store because they’re quick and easy for customers to use.
Shoppers don’t have to type out a long and complex coupon code, or even remember what code they want to use. Instead, they simply need to click a link to auto-apply the coupon.
You can add coupon URLs to your email newsletter, social media message, or any other place where you connect with your customers.
Smart business owners use coupon URLs to get more sales during popular seasonal holidays such as Black Friday. During this time, most people are getting lots of coupon codes from different websites.
Since a coupon URL is so quick and easy to use, shoppers will be more likely to use your coupon compared to using a competitor’s code.
Coupon URLs are also ideal for running flash sales on social media. By replacing a long and complicated coupon code with a short URL, you can keep your social media messages short and easy for customers to understand.
Creating a Coupon Link for WooCommerce
The best way to create coupon links in WooCommerce is by using Advanced Coupons. It is the best WordPress coupon code plugin on the market and allows you to easily create and manage coupons on your eCommerce store.
First, you’ll need to install and activate both the free Advanced Coupons plugin and the premium Advanced Coupons addon. For more information, please see our guide on how to install a WordPress plugin.
Upon activation, head over to Coupons » License.
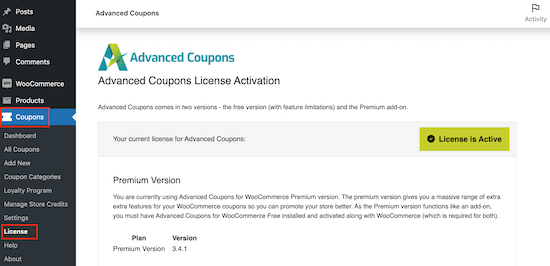
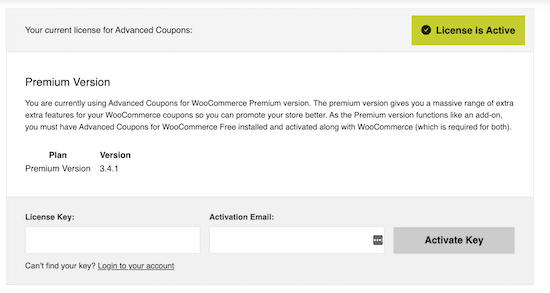
Next, enter your license key into the ‘License Key’ field.
You can find this information by logging into your account on the Advanced Coupons website. You’ll also need to enter your ‘Activation Email’ which is the email address you used when you purchased Advanced Coupons.
Once you’ve done that, go ahead and click on ‘Activate Key.’
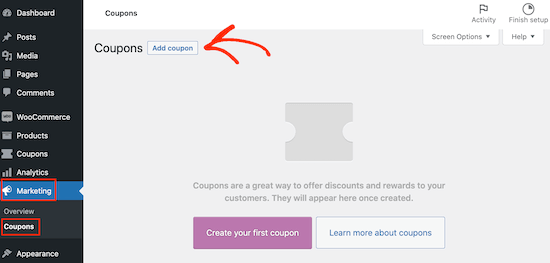
To create a coupon URL, simply go to the Marketing » Coupons page.
Here, click on the ‘Add coupon’ button to create a new coupon.
On the next screen, you need to type in a title for the coupon URL.
This will also become the actual coupon that customers will use on your online store. Since we’ve created a coupon URL, most shoppers won’t see the actual coupon code. However, some customers may still choose to type the code into the checkout page.
With that being said, it’s a good idea to create a coupon code that’s easy for shoppers to remember and type in.
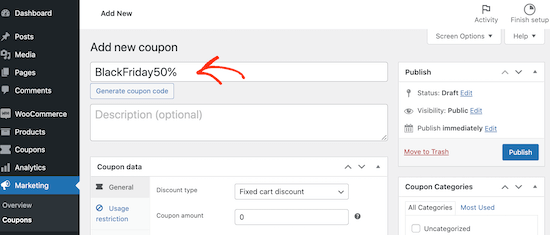
If you don’t want to create your own coupon code, then you can go ahead and click on ‘Generate coupon code.’ This will create a coupon code using random letters and numbers.
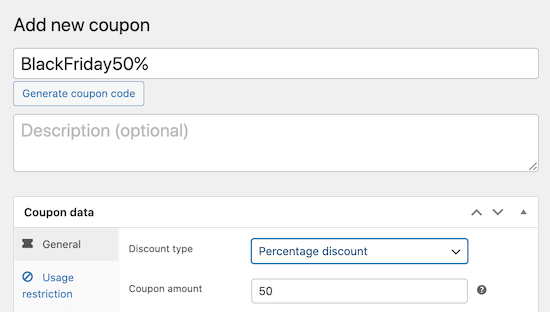
Next, it’s time to enter the coupon’s details by scrolling to the ‘Coupon Data’ section.
To start, you can simply open the ‘Discount type’ dropdown and choose the kind of discount that you want to create, such as a Buy One Get One Free offer in WooCommerce.
For this guide, we’re going to create a 50% discount.
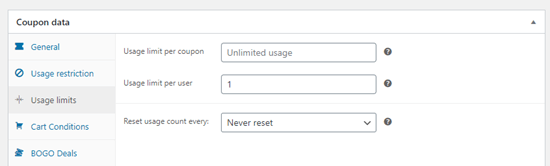
If you want, then you can also set specific restrictions for your coupon under the ‘Usage restriction’ and ‘Usage limits’ tabs.
For example, you might only let each customer use the coupon once.
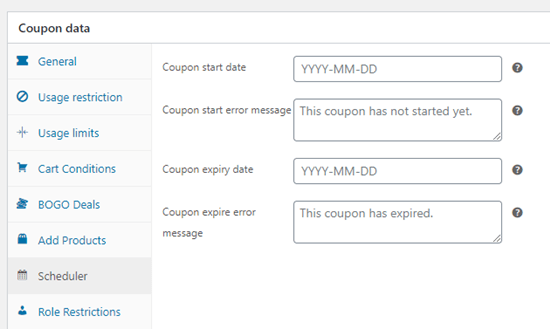
You can also schedule coupons by adding a start and end date.
This allows you to organize all your promotions in advance. It also means you don’t have to remember to turn the coupon off once you no longer want to run a promotion.
After that, go ahead and click on the ‘URL Coupons’ tab.
This is where you’ll create the coupon URL.
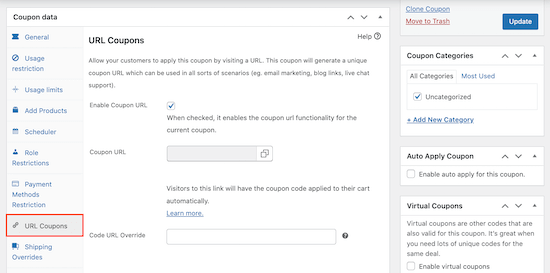
When you click on ‘Publish,’ the plugin will automatically fill in the ‘Coupon URL’ field using the coupon’s title. For example, if your code is BlackFriday50, then the coupon URL will be www.example.com/BlackFriday50.
This should be a good option for most online stores. However, if you want then you can change the default URL. For example, you might want to create a shorter coupon URL if you plan to share the link on social media.
To do this, simply type the new value into the ‘Code URL override’ field.

After a shopper visits the coupon URL page, Advanced Coupons will redirect them to your store’s cart page automatically, so they can start the checkout process.
However, you may want to redirect them to a different page such as a page showing your most popular products.
To do this, simply paste a different URL into the ‘Redirect to URL’ field.
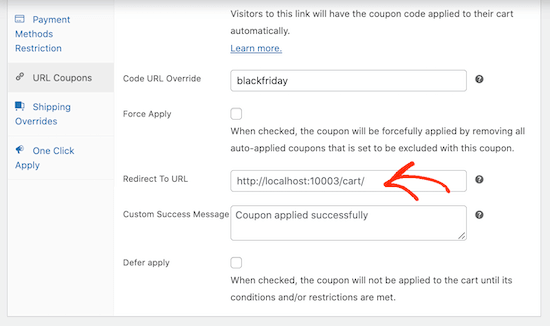
By default, Advanced Coupons will show the ‘Coupon applied successfully’ message. If you want to use a different message, then simply type it into the ‘Custom Success Message’ box.
When you’re happy with how the coupon is configured, simply click on the ‘Publish’ button.

Now, scroll back to the ‘Coupon data’ section and you’ll see the link in the ‘Coupon URL’ field.
You can now share the link with your customers, for example by sending them an email or posting the URL on social media. Every time someone clicks on the link, Advanced Coupons will apply the coupon to their cart automatically.
How to Promote Your Coupon URLs in WooCommerce
The next step is promoting your URLs so that shoppers can find them, and click on them.
First, it’s smart to promote the coupon URL to your email newsletter subscribers and social media followers. Once you’ve done that, you can also promote the coupon URL on your WordPress website.
The easiest way to do this is by using OptinMonster. It is the best conversion optimization software on the market and helps you convert website visitors into paying customers.
It comes with beautiful lightbox popups, slide-in popups, fullscreen welcome mats, and more.
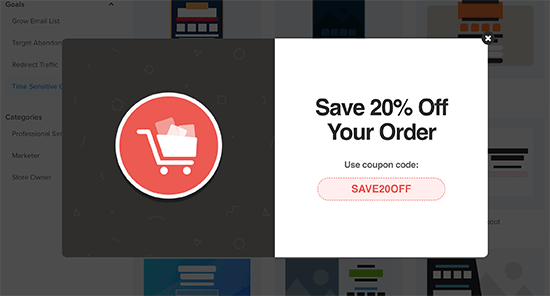
You can add popups on the individual product pages with a button that will auto-apply the URL. For details, see our article on how to add coupon popups in WooCommerce.
If you have lots of different coupon URLs then you can even challenge customers to get the best deal with a spin-to-win option.

We hope this article helped you learn how to auto-apply coupons in WooCommerce using URLs. You might also like our expert pick of the best WooCommerce plugins and our guide on how to create a WooCommerce contest to boost loyalty and engagement.
If you liked this article, then please subscribe to our YouTube Channel for WordPress video tutorials. You can also find us on Instagram and Facebook.