

Do you want to learn how to use the WordPress block editor (Gutenberg)?
When WordPress 5.0 was released in 2019, it replaced the old classic editor with a brand new block editor nicknamed “Gutenberg”. The block editor introduced a different way of creating content in WordPress.
In this tutorial, we’ll show you how to use the WordPress block editor and master it to create visually stunning blog posts and pages.
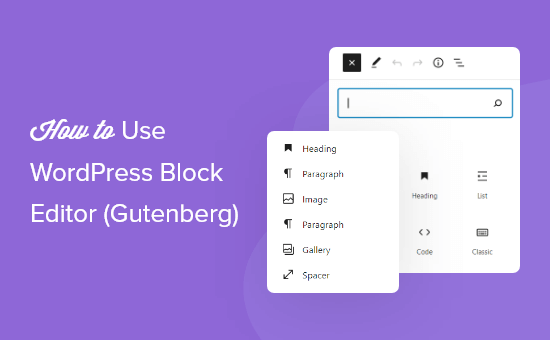
Table of Contents
What’s The Difference Between Block Editor (Gutenberg) and Classic Editor?
Before we dive into the block editor, let’s first compare and understand the differences between Gutenberg Block Editor and therefore the Older Classic Editor.
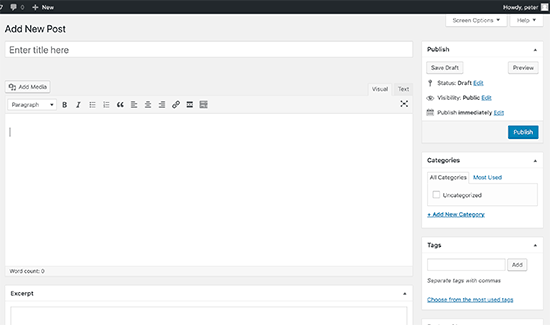
Here is what the classic editor in WordPress looked like:
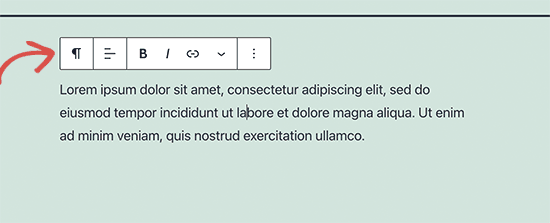
And this is how the modern WordPress block editor looks like:

As you’ll see, they’re two completely different editors for creating content in WordPress.
The old classic editor was a text editor with formatting buttons very similar to Microsoft Word.
The new editor uses a completely different approach, called ‘Blocks’ (hence, the name Block Editor).
Blocks are content elements that you simply increase the edit screen to make content layouts. Each item you increase your post or page may be a block.
You can add blocks for each paragraph, images, videos, galleries, audio, lists, and more. There are blocks for all common content elements, and more can be added by WordPress plugins.
How is the WordPress block editor better than the classic editor?
The WordPress block editor offers an easy thanks to add differing types of content to your posts and pages.
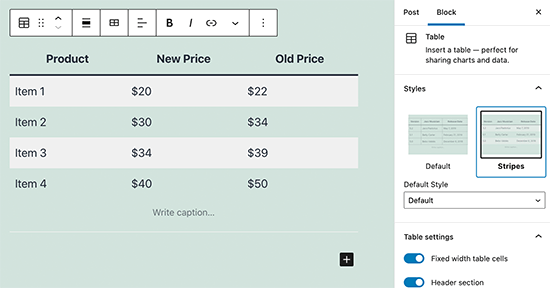
For example, previously if you wanted to add a table in your content, then you needed a separate table plugin.
With the block editor, you’ll simply add a table block, select your columns and rows, and begin adding content.
You can move content elements up and down, edit them as individual blocks, and simply create media-rich content.
Most importantly, the WordPress block editor is straightforward to use and learn.
This gives an immense advantage to all or any WordPress beginners who are just starting their first blog or building a DIY business website.
That being said, let’s take a glance at the way to use the WordPress block editor sort of a pro to make great content.
Here is what we will cover in this Gutenberg tutorial:
- Using Gutenberg – The WordPress block editor
- Creating a new blog post or page
- How to add a block in Gutenberg
- Working with blocks in the new editor
- Saving and reusing blocks in Gutenberg
- Publishing and post settings in Gutenberg
- Plugin settings in new editor
- Adding some common blocks in Gutenberg
- Exploring some new content blocks in Gutenberg
- Bonus tips on using Gutenberg like a pro
- Adding more blocks to Gutenberg Block Editor
- FAQs about Gutenberg
Ready? Let’s dive in.
Using Gutenberg – The WordPress Block Editor
The block editor is supposed to be intuitive and versatile . While it’s different than the old WordPress editor, it still does all the items that you simply were ready to neutralize the classic editor.
Let’s start with covering the essential things that you simply simply did within the classic editor, and therefore the way they’re exhausted the block editor.
Creating a New Blog Post or Page Using The Block Editor
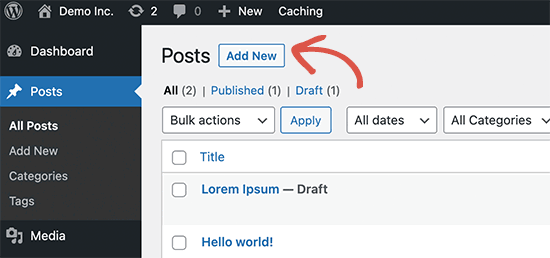
You will start creating a new blog post or page like you normally would. Simply click on the Posts » Add New menu in your WordPress admin. If you are creating a page, then go to Pages » Add New menu.
This will launch the block editor.
How to Add a Block in Gutenberg
The first block of every post or page is the title.
You can use the mouse to move below the title or press the tab key on your keyboard to move the cursor down and start writing.
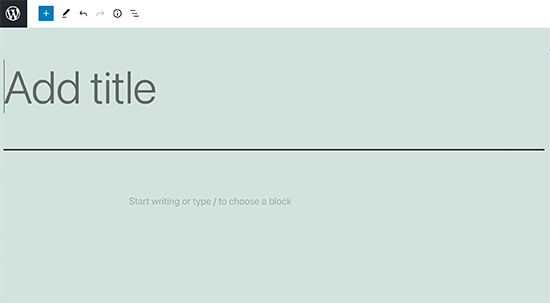
By default, subsequent block may be a paragraph block. This allows users to start out writing directly.
However, if you would like to feature something different, then you’ll click on the add new block button (+) on the highest left corner of the editor, below an existing block, or on the proper side of a block.
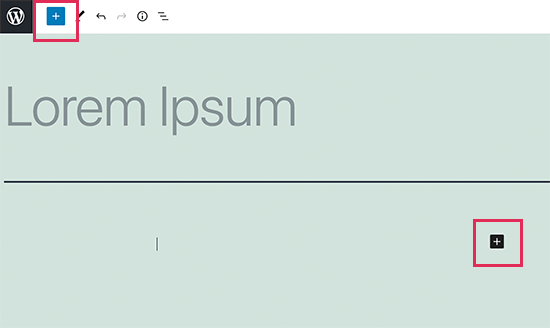
Clicking on the button will show the add block menu with a search bar on top and commonly used blocks below.
You can click on tabs to browse block categories or type in a keyword to quickly search for a block.
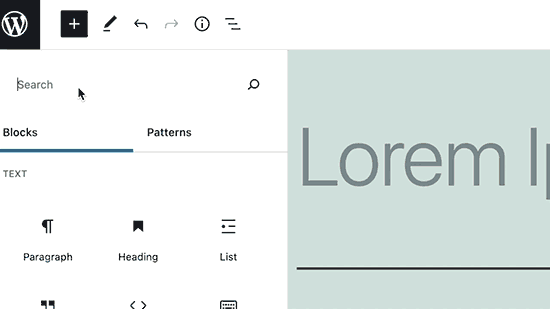
If you don’t want to use a mouse to click on the button, then you can use a keyboard shortcut by typing / to search and add a block.
Working with Blocks in The New Editor
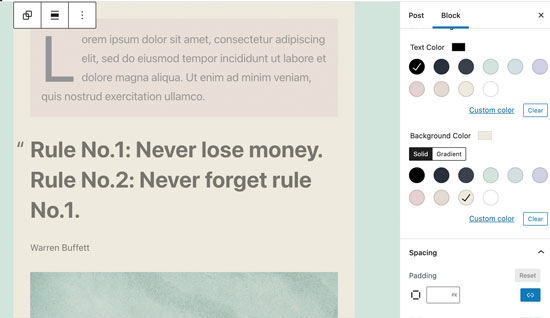
Each block comes with its own toolbar which appears on top of the block. The buttons within the toolbar would change counting on the block you’re editing.
For example, during this screenshot, we are working on a paragraph block that shows basic formatting buttons like text alignment, bold, italic, insert the link, and more.
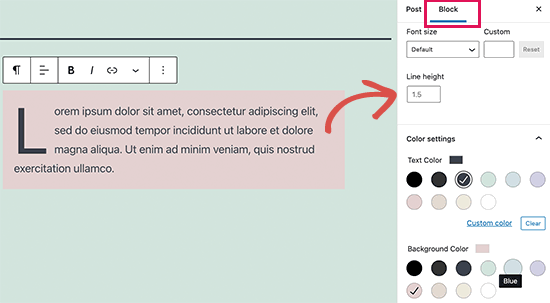
Apart from the toolbar, each block can also have its own block settings which would appear in the right column of your edit screen.
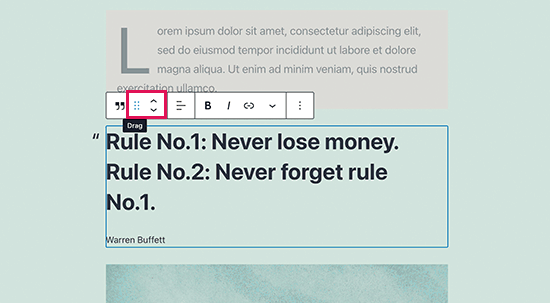
You can move blocks up and down by simply dragging them or by clicking the up and down buttons next to each block.
Organizing Blocks in Groups and Columns
The block editor comes with handy tools to manage and organize your content layouts.
You can select multiple blocks by clicking on them while pressing the SHIFT key on your keyboard.
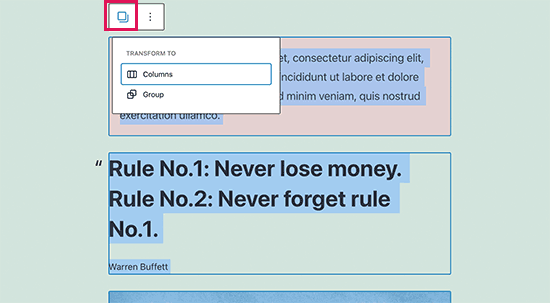
After that, click on the block type button in the toolbar to transform the selected blocks into Groups or Columns.
You can then apply styles to the entire group block such as changing their alignment or spacing.
The block editor also allows you to add an empty Group or Columns block. After that, you can fill them with other blocks.
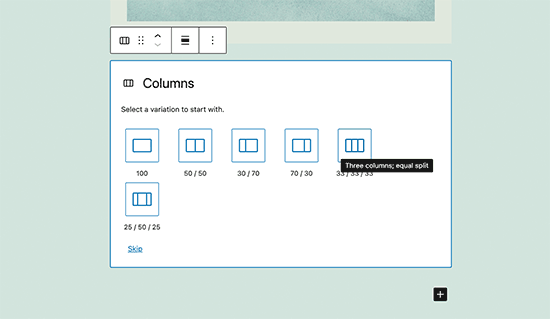
You can then fill in each column with any type of block to create beautiful layouts.

Saving and Reusing Blocks in Gutenberg
One of the simplest things about blocks is that they will be saved and reused.
This is particularly helpful for website owners and bloggers who frequently got to add specific content snippets to their articles or pages.
Simply click on the menu button located at the proper corner of every block’s toolbar. From the menu, select the ‘Add to reusable blocks’ option.
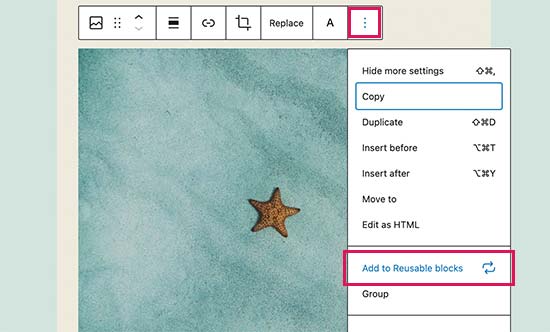
You’ll need to provide a name for your reusable block so that you can identify and reuse it later.
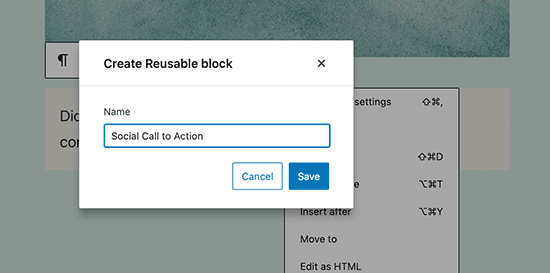
The block editor will now save the block as a reusable block.
Now that you simply have saved a block, let’s see the way to add the reusable block into other WordPress posts and pages on your site.
Simply edit the post or page where you would like to feature the reusable block. From the post edit screen, click on the add block button.
You will find your saved block under the ‘Reusable’ tab. You can also find it by typing its name within the search bar.
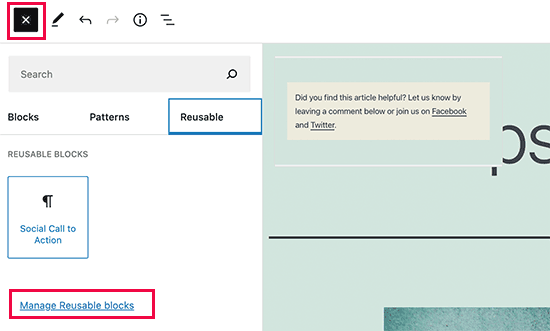
You can take your mouse over it to ascertain a fast preview of the block. Simply click on the block to insert it into your post or page.
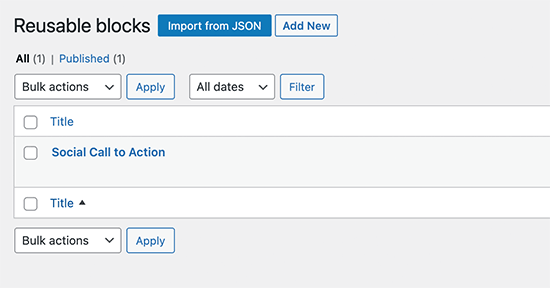
All reusable blocks are stored in your WordPress database, and you’ll manage them by clicking on the ‘manage all reusable blocks’ link.
This will bring you to the block manager page. From here, you’ll edit or delete any of your reusable blocks.
You can also export reusable blocks and use them on the opposite WordPress website.
Note: You can use entire groups and columns as reusable blocks too. This allows you to save entire sections and use them whenever needed.
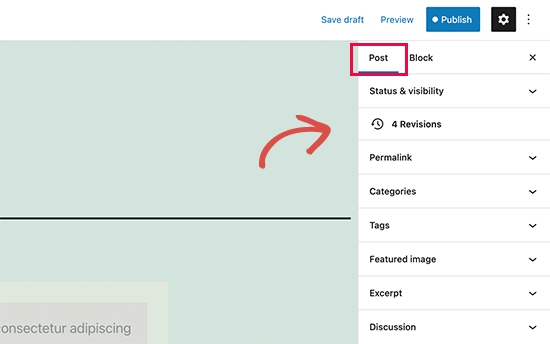
Publishing and Managing Options in Gutenberg Block Editor
Each WordPress post contains a lot of metadata. This includes information like publish date, categories and tags, featured images, and more.
All these options are neatly placed within the right column on the editor screen.
Plugin Options in Gutenberg